Table of Contents
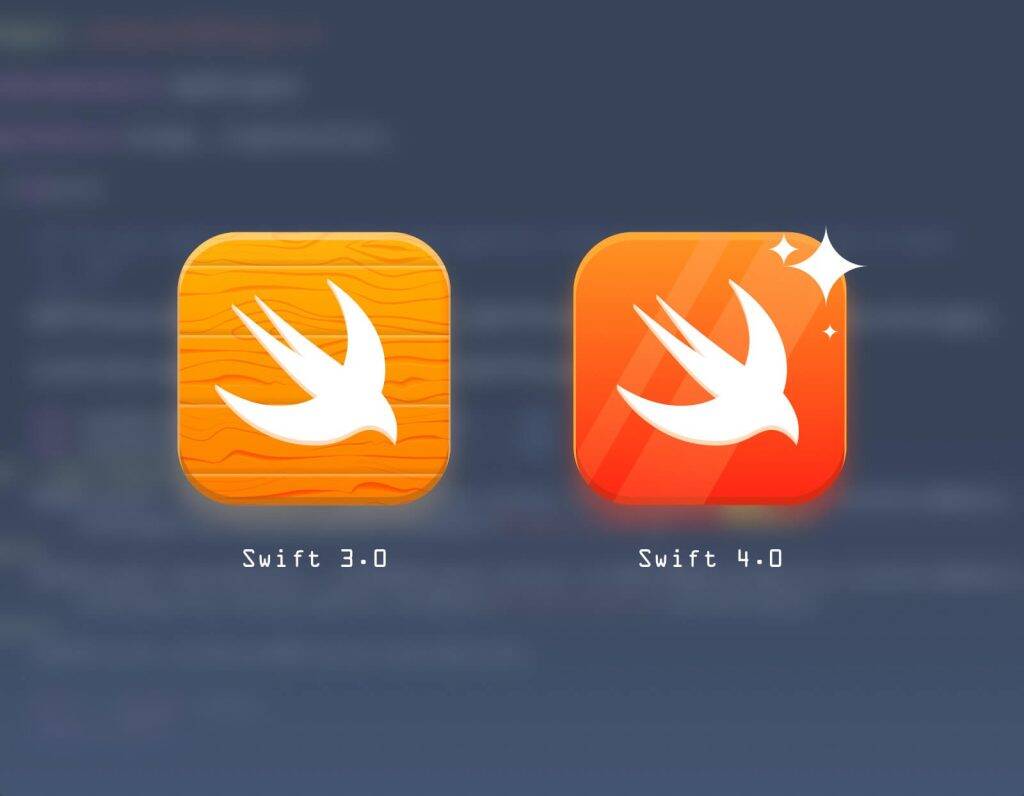
ToggleSwift has covered a long journey from the date it was announced in WWDC till the last stable release in Oct 2018.during this phase there were many changes related to feature wise and also syntax-wise. Through version 3.0 the syntax of the swift went through significant evolution, with the core team making source stability a focus in later versions. In the first quarter of 2018 swift surpassed Objective -C in measured popularity.
Check the latest update in Swift 4
Swift 4.0 released in 2017, introduced several changes to some built-in classes and structures.also apple send out a notice to developers letting them know that starting in April of 2018, all new apps submitted to the App Store must be built using iOS 11 SDK which can be only done by Xcode 9 and later.
Migrating older codebase are mandatory for support to iOS 11 SDK.I’m assuming that you have swift codebase in 2.xx and i will guide you the tips and tricks to migrate the whole code base to the latest swift.let’s start with the upgrading to new swift 4.
Note : If your code base is in swift 2.x and you wanted to upgrade to latest swift then it is better to first migrate it to swift 3 by using Xcode 8.xx and then go for swift 4.xx to avoid complications
How to reach 2.x to 3.x?
First download Xcode 8.x.Xcode 8 comes with a Swift Migrator tool that helps you migrate your project to swift 3.x and also update it new SDKs.When you open your project with Xcode 8.x for the first time you will be prompt with the inbuild migration assistant to do a migration process. In case if you miss the prompt the assistant can also be invoked manually from the Xcode menu Edit | Convert |To Current Swift Syntax Now just choose the version and the target to migrate.
Now click next it will bring up the Generate Preview sheet and the assistant will initiate a migration to get source changes. when this is done, now you will be presented with all the changes that will be applied once you click ‘Save’.
Once the conversion is done Xcode show’s the original code and the converted code , the original source is on the right and the changes done by the tool are on the left.Y ou can still make the changes to the left side if you feel like. Now save the changes Xcode will save that changes to the original file. After doing this just clean the project and build it. All the error are not fixed by the migrator tool some error is to be done by the manual process, now we are good to go phase 2.
3.x to 4.x
Once you have done with the migration to swift 3.x now open the same project in the latest Xcode. Here again, we have to open the migration tool and follow the same process as we have to do in process one of migrating the code.
Required Changes After Migration Tool.
There are some changes which are to be done manually after the migration tool has done with the changes. Here are a few of the most common changes that we had to make.
Closure parameter labels – Swift 3 removed support for argument labels in function types this requires to removing parameter labels from closures. Here we simply remove the argument labels in the closures.
Optional protocol functions
Signatures for UIKit protocol delegate methods have changed for many classes UITableViewController and UICollectionViewController.
For Example:
Func tableView(tableView:UITableView, cellForRowAtIndexPath indexPath:NSIndexPath) has changed to : func tableView(_ tableView:UITableView, cellForRowAt indexPath: IndexPath).
Private Changed to File Private
Private declarations are now changes to file-private which is the new keyword that behaves exactly as private for restricting access to the current file. The new file-private allows access only within the current declaration, restricting access even further than before.
Multiple unwrapping conditions
To add Multiple conditions in conditional unwrapping we can trim down the ‘let’ keyword but now it is required.
//This will not work with swift 3.0
If let x = getSetX(),y = getSetY() {
…..
….
}
//Swift 3.0
If let x = getSetX(),let y = getSetY() {
…..
….
}
Conditions no longer contain where
Before we can use where clause with the conditions making our if let statement more readable but swift 3.0 where is removed.
// Not work with swift 3.0
If let x = getSetX(), where x== true {
…..
….
}
//Work with swift 3.0
If let x = getSetX(), x== true {
…..
….
}
Vast Renaming
There are vast changes in the class, methods name but you do not have to worry about it will be done automatically by the migration tool, here are the some of the common ones that you’ll likely to run into.
The NS prefix has been removed from the vast majority of APIs and many singleton-like patterns are no longer methods but properties. Also, sharedManager or sharedApplication is now just shared.
NSNotificationCenter,defaultCenter() is now NotificationCenter.default with additional renaming such as postNotificationName -> post
Names for notifications are no longer strings but enums of the type Notification.Name
NSBundle.mainBundle().pathForResource is now Bundle.main.path
.respondsToSelector() is now .responds(to:#selector())
componentsSeparatedByString(“.”) is now components(separatedBy:”.”)
NSUserDefaults.standardUserDefaults() is now userDefaults.standard with additional renaming such as objectForKey() -> object(forKey:)
NSProcessInfo.processInfo is now ProcessInfo.processInfo
enumerate() on arrays and dictionaries is now enumerated()
NSFileManager.defaultManager() is now FileManager.default
NSDate is now just Date
NSDateFormatter is now just DateFormatter
NSUTF8StringEncoding is now much more reasonably named with String.Encoding.utf8
Dispatch_queue_create and similar have been drastically simplified to names such as DispatchQueue.
These are just some of the big items you’ll run into when looking at your Migration tools Diff.[/vc_column_text][/vc_column][/vc_row][vc_row][vc_column][/vc_column][/vc_row]
Author
-

With 14+ years in IT and entrepreneurship, I co-founded Nimap Infotech, a digital transformation company that has delivered 1200+ projects and built a team of 400+ engineers. I’ve also led mobile development teams at Accenture India and IBM Apple Garage and developed a network of 7k+ iOS and Android developers. As an Angel Investor, tech advisor, and mentor, I actively engage with the startup ecosystem.
View all posts


