This in-depth guide will examine the many components offered by React Native Elements, examining their features, functions, and the smooth integration they may give into your workflow for developing mobile apps.
No matter how experienced you are in developing mobile apps, React Native Elements speeds up projects. It offers a comprehensive collection of components that follow industry best practices.
This comprehensive analysis will provide a detailed description of key components and demonstrate their application in generating engaging user experiences. Prepare to tap into React Native Elements’ full potential and improve the quality of your mobile app development projects beyond appreciation.
Introduction to React Native Elements:
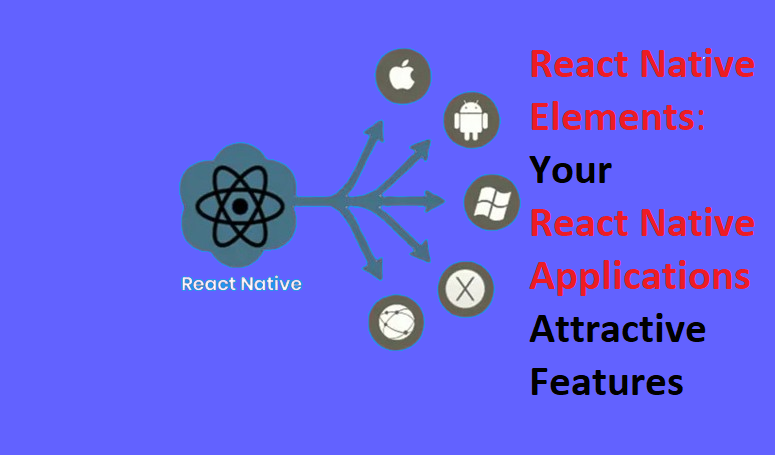
Popular JavaScript framework React Native is used to create mobile applications, and React Native Elements is an open-source library for React Native. It offers a collection of pre-made, simply integrable, and customisable UI components for use in React Native projects. Adhering to the Material Design principles, these parts offer a unified appearance and feel on several platforms (iOS and Android).
React Native Elements offers a wide range of user interface components, including buttons, input fields, sliders, badges, and cards. Developers may concentrate more on the logic and functioning of their apps by utilizing React Native Elements to streamline the design and implementation of basic user interface elements, saving time and effort.
Also Read: React Native App Development: Complete Guide
Components of React Native Elements:
Embark on a comprehensive exploration as we delve into key components within React Native Elements, a purposeful UI toolkit crafted to enhance the landscape of React Native development. With these components, you can simply change and incorporate a pre-designed collection of UI elements into your program.
Icon:
Easily customize the UI design of your app with icons from different icon sets.
Text:
An element that renders text with format and style options.
Input:
A field designated for receiving text or numerical input from users.
CheckBox:
An element that displays checkboxes with modifiable styles.
PricingCard:
A card component designed to show features and pricing in an organized manner.
Tab:
TabBar:
A menu bar or bar that accommodates TabButtons, enabling users to navigate between various app views or sections.
TabButton:
A button appears on each tab in the TabBar; usually, it shows an icon or text to facilitate tab navigation.
Modal:
A pivotal interface element, often employed to showcase forms, dialogs, or vital information atop the displayed content, is the overlaying or popping-up component in question.
Switch:
An element that simulates an on/off toggle switch, typically used to turn on or off a setting or function.
React Native Elements provides everything you need for UI designs, including buttons, cards, inputs, icons, and more. Elevating mobile app development effortlessly, React Native Elements stands out as an essential toolkit with its expansive customization features and seamless integration capabilities.
Benefits of React Native Elements:
With the help of pre-made building blocks called React Native Elements, you can create more visually appealing and intuitive native apps. React Native Vector Icons is one of the well-known open-supply UI component libraries that the team uses for embellishing functionality. Let’s get started by discussing the benefits of RN Elements, which may assist you with integrating excellent components for React Native Applications.
Cross-Platform Features:
It ensures smooth cross-platform performance, enabling the development of packages that operate without any issues on iOS and Android devices. The modifications are made to have a natural look and feel, giving users a consistent, handheld experience.
Enhanced Development Speed:
Expediting progress with remarkable efficiency, it furnishes a broad spectrum of pre-designed user interface components, contributing to an extensive range of options for development enhancement. By using those ready-to-use additives, developers can save time and work by not starting from scratch.
User-Friendly Interface:
It has an easy-to-use interface that attracts consumers. Integrating with the Expo tool, its built-in TypeScript guide simplifies the improvement approach and allows developers to get started on their duties quickly.
Personalization:
React Native Elements provides highly configurable components that let packagers customize the visual appeal and behaviour of their packages. There are customization choices available to match specific requirements and branding to the user interface, ranging from sizes and icons to colours and patterns.
Theming support:
These consist of robust theming tools that enable programmers to define global patterns and alter the visual elements of their applications. This strengthens the brand’s identification by encouraging a consistent and professional appearance throughout the app.
Communal Support:
It is enhanced by a thriving and encouraging developer community. Decorating React Native projects with best practices and pooled knowledge is made possible by this community’s invaluable resources, tutorials, and help.
How Do React Native Elements Get Implemented?
Wonderful user interfaces may be created more quickly and easily with the help of React Native Elements, a robust toolkit that offers a large selection of pre-designed components.
Regardless of your degree of experience, using React Native Elements in your app development projects can significantly improve productivity and effectiveness.
Let’s explore the potential of this exceptional library without delay. Here’s a detailed tutorial on adding React Native Elements to your project:
Step 1: Install React Native Elements
Installing the React Native Elements library in your React Native project is the first step. Locate your project directory by opening a command prompt or terminal and going there. Next, execute the subsequent command:
npm install react-native-elements
Step 2: Set up Peer Dependencies
Some peer dependencies must be installed in your project to use React Native Elements. The installation of dependencies in React Native Elements is a manual task, as the library does not handle their automatic installation; you need to install them manually.
Install react-native-vector-icons:npm install react-native-vector-icons
The command is used to establish the necessary linkage for both iOS and Android devices, ensuring seamless dependency linkage.
npx react-native link react-native-vector-icons
Set up the safe-area-context-react-native:
npm install react-native-safe-area-context
Step 3 Import and Configure:
After installing React Native Elements and their peer dependencies, import and set them up in your application. Enhance the functionality of your React Native project by importing the following dependencies into your App.js or main entry file.
import React from ‘react’;
import { SafeAreaProvider } from ‘react-native-safe-area-context’
import { ThemeProvider } from ‘react-native-elements’;
Step 4 Combine Elements: Now that React Native Elements is installed and set up, you may use its components in your application. Incorporating the Button component into your main component is a breeze; simply integrate the following code snippet to seamlessly implement it.
import React from ‘react’;
import { SafeAreaProvider } from ‘react-native-safe-area-context’;
import { ThemeProvider, Button } from ‘react-native-elements’;
const App = () => {
return (
<SafeAreaProvider>
<ThemeProvider>
<Button title=”Click Me” />
</ThemeProvider>
</SafeAreaProvider>
);
};
export default App;
Step 5 Personalize the components:
Tailoring the components to fit your needs is made flexible with React Native Elements, providing a range of props. Take control effortlessly by leveraging the `buttonstyle` prop, allowing you to customize the button’s color with simplicity and precision.
import React from ‘react’;
import { SafeAreaProvider } from ‘react-native-safe-area-context’;
import { ThemeProvider, Button } from ‘react-native-elements’;
const App = () => {
return (
<SafeAreaProvider>
<ThemeProvider>
<Button
title=”Click Me”
buttonStyle={{ backgroundColor: ‘blue’ }}
titleStyle={{ color: ‘white’ }}
/>
</ThemeProvider>
</SafeAreaProvider>
);
};
export default App;
To create exceptional user interfaces in your React Native project, simply follow these steps to add React Native Elements. An essential tool for any React Native developer is the library’s vast array of components and user-friendly API.
Read More: Is React Native a Profitable Choice for Hybrid App Development?
Conclusions:
Offering a wide range of pre-designed and customisable components, React Native is a potent UI framework for React Native applications. Get in touch with a React native development business that uses the best React native solutions. Its features include faster development speed, customizability, cross-platform capabilities, user-friendly interfaces, theming support, and a helpful community.
Your app idea can become a reality with the help of Nimap Infotech, a React Native development company. We have a track record of surpassing clients’ expectations with our outstanding React Native apps thanks to our committed team of specialists. You can choose between hiring UI/UX designers or React native programmers.